
How to Contour a Round Face: Best Products and Techniques
Learn how to contour a round face with this easy, step-by-step guide. Discover the best tips, tools, and techniques for sculpting and slimming your features naturally.
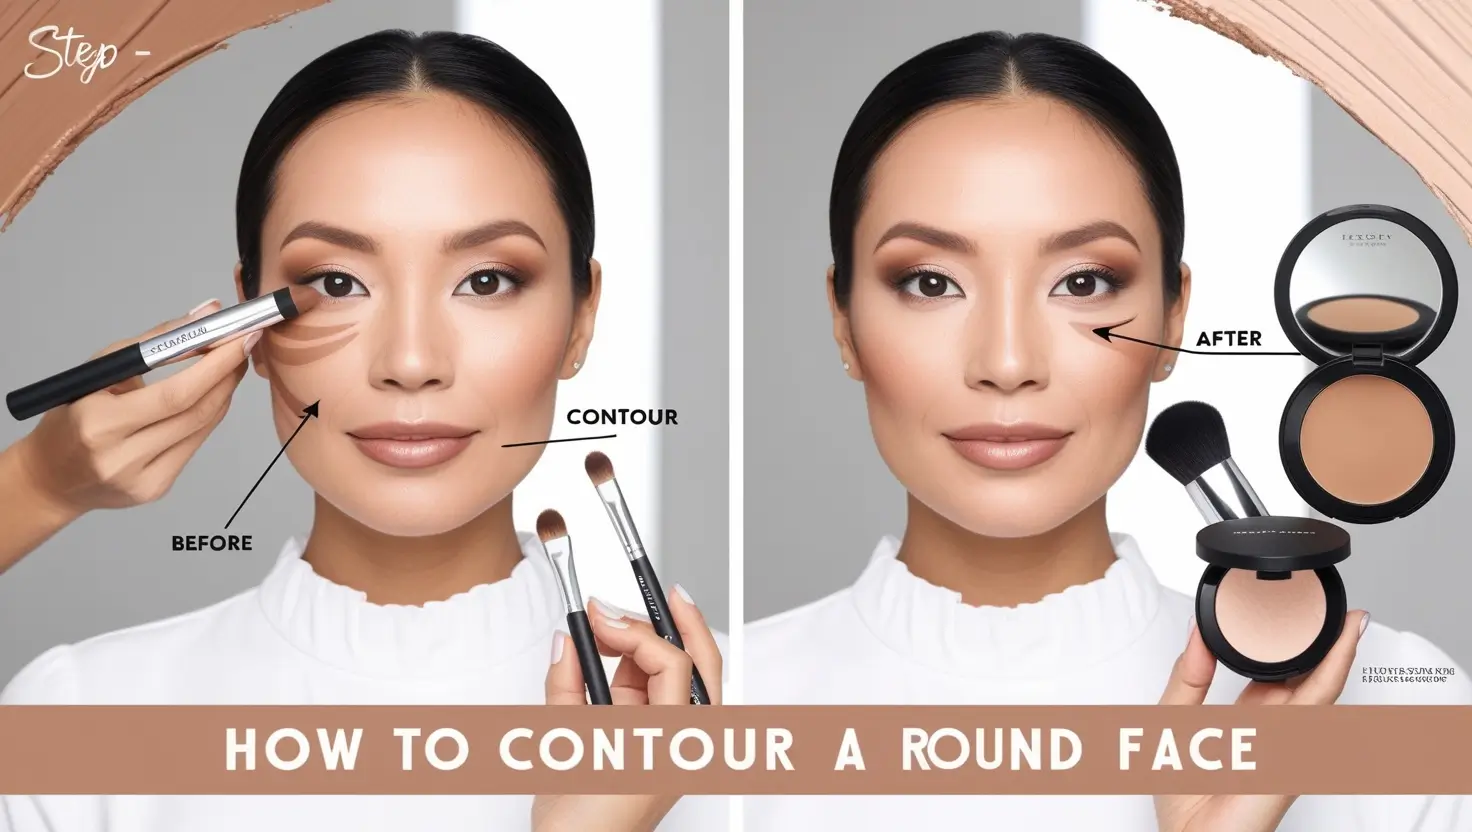
Table of Contents
Contouring a round face requires a different approach than other face shapes, and mastering the right techniques can completely transform your makeup game. If you’ve ever wondered how to contour a round face to enhance your natural beauty and create more definition, you’re in the right place. This comprehensive guide will walk you through everything you need to know about contouring techniques specifically designed for round faces, helping you achieve that perfectly sculpted look while maintaining a natural appearance.
Whether you’re a makeup beginner or looking to refine your skills, learning how to contour a round face effectively can help you slim, sculpt, and enhance your features in all the right places. The key lies in understanding your unique face shape and applying strategic contouring techniques that work with your natural bone structure rather than against it.
What Makes a Face Shape “Round”?
Understanding your face shape is the foundation of successful contouring. A round face typically has several distinctive characteristics that set it apart from other face shapes. Round faces generally have full cheeks, a soft jawline, and measurements where the width and length are relatively similar. The widest part of a round face is usually at the cheekbones, with a gently curved hairline and a rounded chin.
People with round faces often have youthful, soft features with minimal angles or sharp lines. The jawline tends to be less defined, and the cheeks may appear fuller or more prominent. These aren’t flaws to hide but rather beautiful features that can be enhanced and balanced through strategic contouring techniques.
Recognizing these characteristics is crucial when learning how to contour a round face because it helps you understand which areas to shadow and which to highlight. The goal isn’t to completely change your face shape but to create subtle definition that enhances your natural beauty and adds dimension to your features.
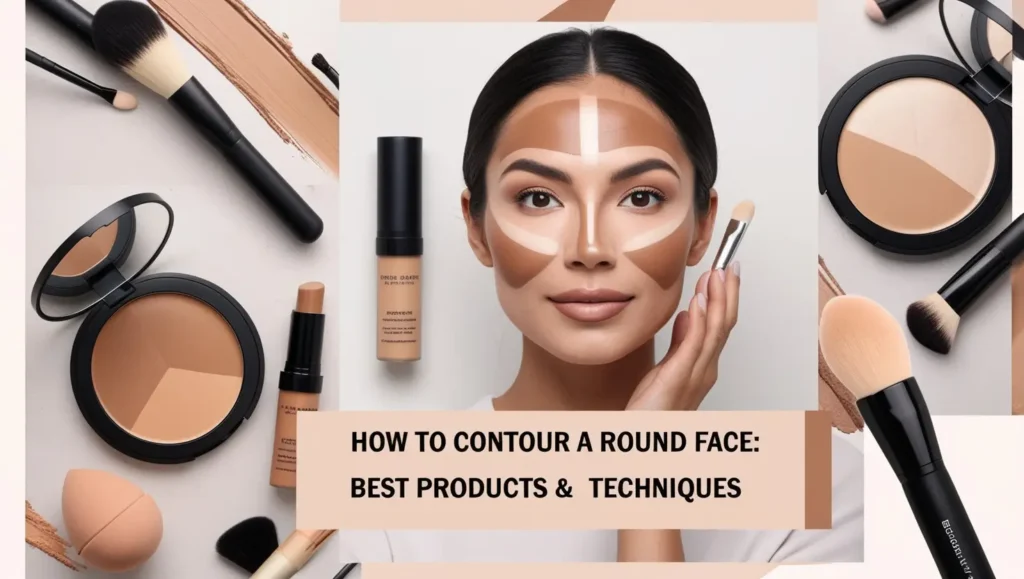
Best Products for Contouring a Round Face
Choosing the right products is essential for achieving a flawless contour on a round face. Your contour product should be a matte bronzer or cream that’s 1-2 shades darker than your natural skin tone, preferably with cool or neutral undertones to mimic natural shadows. Avoid anything with shimmer or glitter in your contour products, as these will highlight rather than shadow the areas you’re trying to recede.
For cream contours, look for products with buildable coverage that blend seamlessly into your skin. Powder contours work well for oily skin types and offer more control for beginners. The texture you choose often depends on your skin type and personal preference, but cream products tend to look more natural and skin-like when properly blended.
Your highlighting products should be lighter than your foundation, either in the form of a lighter concealer or a subtle shimmer highlight. Choose products that complement your undertone – warm undertones pair well with golden or peach highlights, while cool undertones work better with pink or silver-based highlights.
Essential tools for contouring a round face include a damp beauty blender for seamless blending, an angled brush for precise application, and a setting spray to lock everything in place. Quality tools make a significant difference in achieving professional-looking results, so invest in brushes that are dense enough to pick up product but soft enough to blend smoothly.
How to Contour a Round Face – Step-by-Step Guide
Step 1 – Prep Your Skin for a Flawless Base
Proper skin preparation is the foundation of any great makeup look. Start by cleansing your face with a gentle cleanser to remove any dirt, oil, or residual makeup. Follow with a moisturizer appropriate for your skin type – this creates a smooth canvas and helps your makeup blend more easily.
Apply a primer that suits your skin’s needs. If you have oily skin, use a mattifying primer in your T-zone. For dry skin, choose a hydrating primer. Allow each product to fully absorb before moving to the next step, typically waiting 2-3 minutes between applications.
This preparation step ensures your contour will blend seamlessly and last longer throughout the day. Skipping proper prep can result in patchy application and makeup that doesn’t wear well.
Step 2 – Apply Foundation and Concealer
Create an even base by applying your foundation using your preferred method – brush, sponge, or fingers. Make sure your foundation matches your neck and chest to avoid obvious color differences. The goal is to create a uniform canvas that allows your contour to show up properly.
Apply concealer under your eyes, on any blemishes, and optionally on the center of your forehead and chin if you plan to highlight these areas later. Blend thoroughly and set with a light dusting of translucent powder if needed, especially in areas prone to creasing.
A well-applied base is crucial for successful contouring because it provides the neutral backdrop against which your shadows and highlights will show up most effectively.
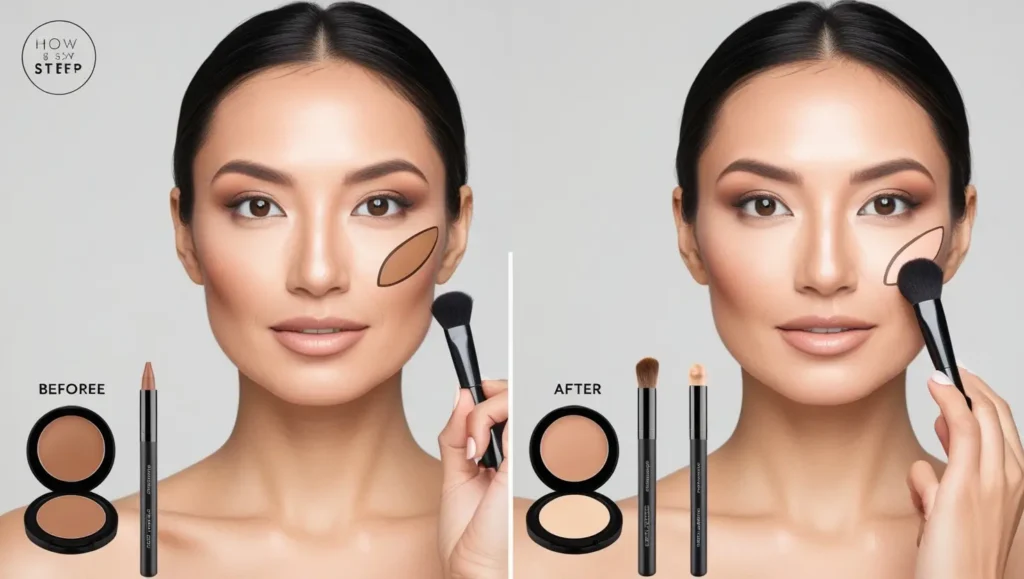
Step 3 – Map Out Your Contour
The key to contouring a round face lies in creating a strategic “3” shape on each side of your face. Start at your temples, drawing the contour along your hairline. Move down to the hollows of your cheeks (not too low), and finish along your jawline to create definition.
For round faces, avoid placing contour too low on your cheeks, as this can make your face appear wider. Instead, focus on the natural hollow just below your cheekbone. You can find this by sucking in your cheeks slightly – the depression that forms is where your contour should go.
Apply contour with a light hand initially, building up the intensity gradually. It’s always easier to add more product than to remove excess. Use gentle, sweeping motions and focus on creating soft gradients rather than harsh lines.
Step 4 – Highlight Strategically
Apply highlight to the areas you want to bring forward and emphasize. For round faces, focus on the center of your forehead, the bridge of your nose, under your eyes (on top of the cheekbone), the center of your chin, and your cupid’s bow.
Be strategic with your highlight placement on a round face. Avoid highlighting the sides of your forehead or the apples of your cheeks, as this can make your face appear wider. Instead, focus on creating vertical emphasis through the center of your face.
Apply highlight with a smaller brush or your finger, using gentle patting motions rather than rubbing. This helps the product sit on top of your skin and catch the light naturally.
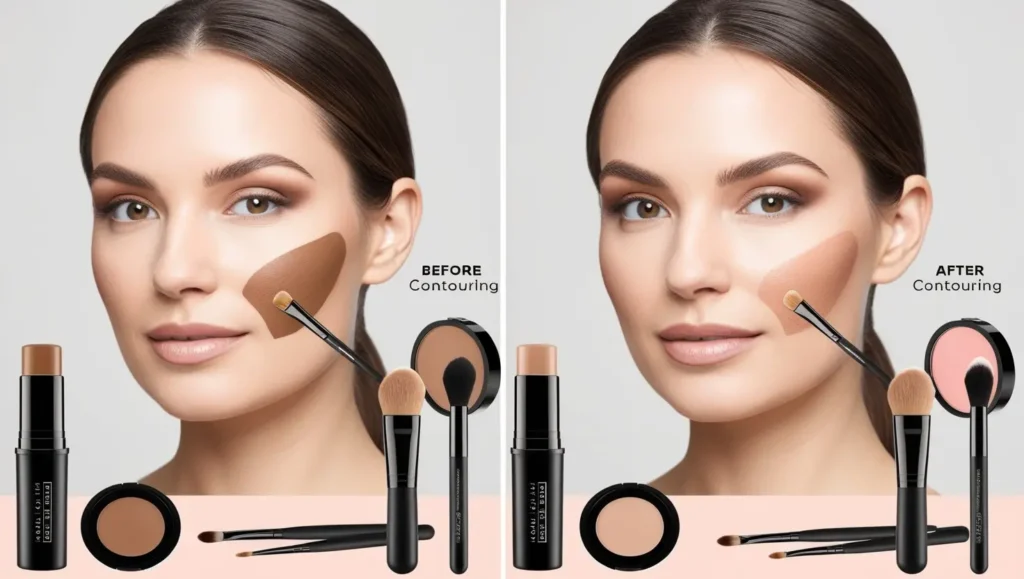
Step 5 – Blend Like a Pro
Blending is where the magic happens and what separates amateur contouring from professional-looking results. Use a damp beauty sponge or a clean, fluffy brush to blend your contour and highlight seamlessly into your base makeup.
Always blend upward and outward, following the natural lines of your face. For contour, blend the edges until there are no harsh lines visible. The transition should be so gradual that it looks like natural shadowing. For highlight, blend until it looks like your skin is naturally luminous in those areas.
Take your time with this step – rushing the blending process is the quickest way to end up with obvious, unflattering makeup. Use circular motions, back-and-forth strokes, and patting motions as needed to achieve seamless blending.
Step 6 – Set and Finish Your Look
Set your contour and highlight with a light dusting of translucent powder or a setting spray to ensure longevity. If you used cream products, a light powder can help lock everything in place without disturbing your carefully blended work.
Add blush to the apples of your cheeks, blending upward toward your temples. Choose a color that complements your skin tone and the overall mood of your look. Finally, you can add a subtle shimmer highlight on the highest points of your cheekbones for extra dimension and glow.
Step back and assess your work in natural lighting if possible. This is the best way to see how your contour will look in real-world situations and make any necessary adjustments.
Expert Tips for Contouring a Round Face Naturally
Creating a natural-looking contour requires understanding that less is often more. Always start with a light application and build up gradually – you can always add more product, but removing excess can disturb your base makeup. Choose contour shades that are only 1-2 shades darker than your natural skin tone to maintain realism.
Pay attention to your undertones when selecting products. Cool undertones work best for creating realistic shadows, while warm undertones can look muddy or unnatural. If you’re unsure about your undertones, neutral shades are usually a safe choice.
Practice your technique regularly, as contouring is a skill that improves with repetition. Take photos of your finished looks in different lighting conditions to see how your contour translates in various environments. Natural lighting is always the most accurate representation of how your makeup will look to others.
Remember that the goal is to enhance your natural features, not completely change your face shape. Subtle definition often looks more sophisticated and wearable than dramatic contouring, especially for everyday wear.
Common Mistakes to Avoid When Contouring a Round Face
One of the most frequent mistakes is using a contour shade that’s too dark for your skin tone. This creates an obvious, unnatural look that can appear dirty or muddy rather than sculpted. Stick to shades that are only slightly darker than your natural complexion.
Placing contour too low on the cheeks is another common error that can actually make a round face appear wider. The contour should follow the natural hollow of your cheekbone, not the apple of your cheek or the lower portion of your face.
Insufficient blending is perhaps the most telltale sign of amateur contouring. Harsh lines or obvious color differences are immediate giveaways that makeup has been applied. Always take extra time to blend thoroughly, checking your work from multiple angles.
Using the wrong undertone can make your contour look unnatural or clash with your skin tone. Cool or neutral undertones typically work best for creating believable shadows, while warm undertones can appear orange or muddy on some skin tones.
Finally, avoid taking photos only in artificial lighting to judge your contour. Always check your work in natural daylight, as this is the most accurate representation of how others will see your makeup throughout the day.
Final Thoughts: Mastering How to Contour a Round Face
Learning how to contour a round face effectively is a journey that requires patience, practice, and the right techniques. The key steps include understanding your face shape, choosing appropriate products, applying contour strategically in a “3” shape, highlighting the center of your face, and blending everything seamlessly.
Remember that every face is naturally beautiful, and contouring is simply one tool you can use to enhance your features if you choose to. There’s no pressure to contour daily – it’s a technique you can pull out for special occasions or whenever you want to add extra definition to your look.
The most important thing is to find a style that makes you feel confident and comfortable. Experiment with different intensities, from subtle everyday contouring to more dramatic evening looks. With practice, you’ll develop your own signature technique that works perfectly for your unique features.
What’s your favorite contour product for achieving that perfect sculpted look? Share your go-to products in the comments below, or ask any questions about contouring techniques – I’d love to help you master this transformative makeup skill!

Hi, I’m Ella Blush! I share easy makeup tips, real reviews, and everyday glam looks to help you feel confident, beautiful.

2 Comments