
Layering Tips: How to Make Glitter Lip Gloss Last Longer
Discover expert tips to make your glitter lip gloss last longer. Learn how to layer, prep, and lock in sparkle for all-day shine.
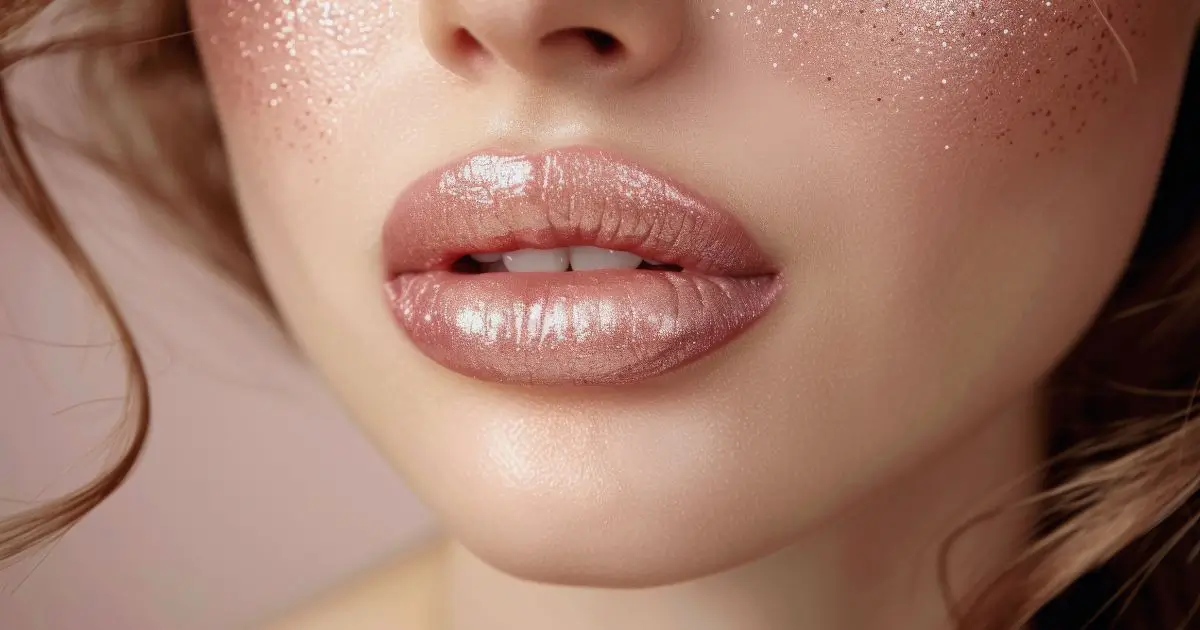
Table of Contents
Have you ever applied that perfect sparkly pout, only to find your glitter lip gloss has disappeared before you’ve even left the house? You’re not alone. That magical shimmer that makes your lips pop in selfies often vanishes faster than you can say “touch-up.” But what if your glittery glamour could actually last through dinner, drinks, and dancing?
As someone who’s gone from constant reapplication to all-night sparkle, I’m here to share the layering techniques that transformed my glitter lip gloss game. Whether you’re obsessing over the latest Broadway lip gloss trend or trying to make that perfect pink lip gloss stay put for hours, these professional layering secrets will ensure your sparkle stays where it belongs—on your lips, not your coffee cup.
What is Glitter Lip Gloss?
The Shimmer Definition
Glitter lip gloss is a cosmetic product that combines the shine and moisture of traditional lip gloss with reflective particles that create a sparkly, dimensional effect on the lips. Unlike regular glosses that offer only shine, glitter formulations contain micro-glitter, shimmer, or metallic particles suspended in the gloss base to create that coveted sparkle effect.
Modern glitter glosses range from subtle shimmer with fine particles to bold statement formulas with chunky glitter pieces. The base can vary from sticky and long-lasting to lightweight and comfortable, with finishes ranging from wet-look high shine to more subtle satin effects.
Evolution in Makeup Routines
Glitter lip gloss has transformed dramatically since its 90s heyday. Back then, it was all about thick, often uncomfortable formulas with noticeable glitter chunks. Today’s versions are sophisticated, with finer particles and more comfortable wear.
Many beauty enthusiasts now use glitter lip gloss as:
- A topper over matte lipstick for dimension
- A center-lip highlight for the “pouty” effect
- A complete lip look on its own
- Part of monochromatic makeup looks (matching lips to eyes)
Current Trends & Popularity Surge
The resurgence of glitter lip gloss isn’t just about nostalgia—it’s been reimagined for today’s beauty standards. TikTok has played a huge role in popularizing techniques like the “glazed donut lip” featuring shimmery glosses.
Celebrity lines like Sexyy Red’s lip gloss collection have brought bold, unapologetic glitter back into focus. The “clean girl aesthetic” has also embraced subtle shimmer glosses as an essential finishing touch to minimal makeup looks.
The Broadway lip gloss trend—inspired by stage makeup techniques that need to catch the light—has crossed into everyday makeup, with users seeking that “seen from the back row” sparkle for their Instagram photos.
Why Glitter Lip Gloss Matters in Makeup
The Visual Impact Factor
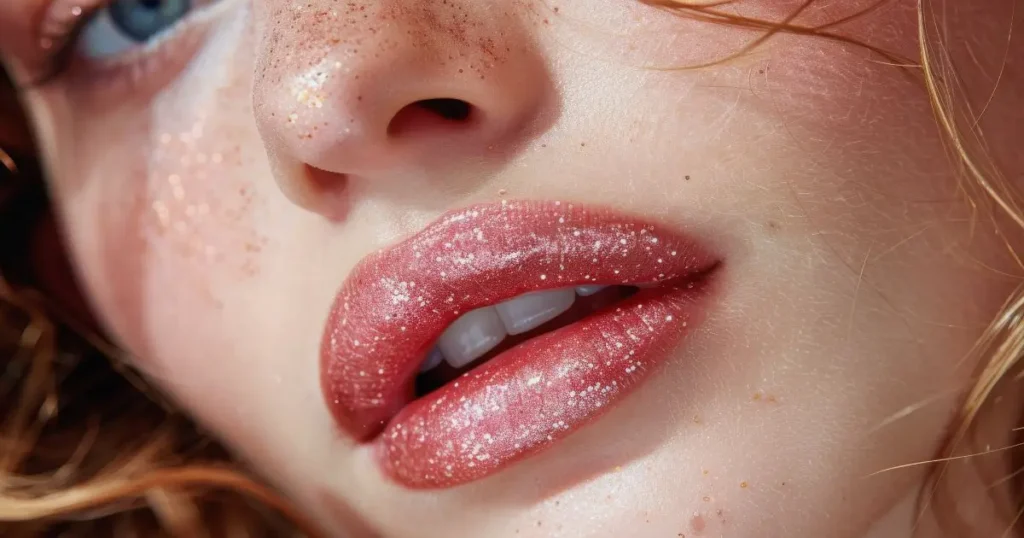
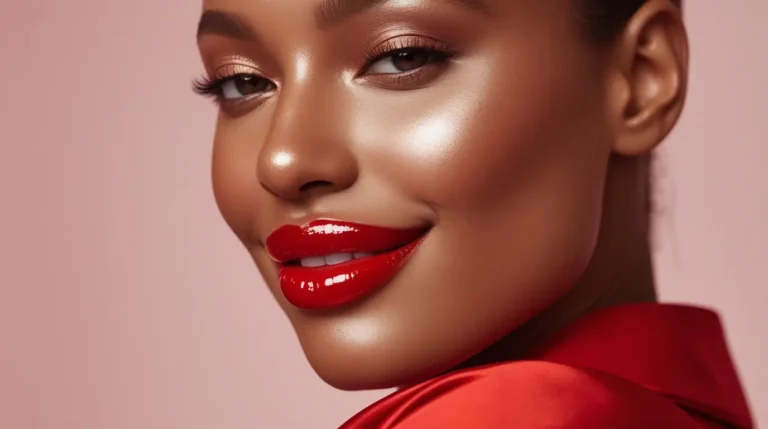
There’s something undeniably eye-catching about lips that catch the light with every movement. Glitter lip gloss creates dimension that makes lips appear fuller without the need for injections or complex overlining techniques.
This dimensional quality works particularly well in photography and video content, where the light-reflecting properties make lips stand out. In fact, makeup artists note that a subtle glitter gloss can make lips appear up to 20% fuller in photographs due to how light reflects off the particles.
The right glitter lip gloss can also:
- Draw attention to your smile
- Balance bold eye makeup
- Add youthfulness to any makeup look
- Create the illusion of hydration and health
The Confidence Connection
“When I wear my pink glitter lip gloss, I instantly feel more put-together and glamorous, even in casual clothes,” shares beauty influencer Maya Johnson. This sentiment echoes across social media, where users report feeling more confident when their lips have that extra sparkle.
The psychological impact of glitter isn’t just anecdotal—studies on color psychology suggest that sparkly, reflective elements can trigger positive emotional responses, including feelings of joy and playfulness. This may explain why many people reach for glitter lip gloss before important events or when they need a mood boost.
Professional Application Techniques
Celebrity makeup artists don’t just slap on glitter gloss and hope for the best. They’ve developed sophisticated layering techniques to ensure longevity and impact.
Patrick Ta, makeup artist to stars like Gigi Hadid and Shay Mitchell, often uses a matching lip liner and lipstick base before applying glitter gloss. This creates depth and helps the glitter particles adhere better to the lips.
Makeup artist Nam Vo, known for her “dewy dumpling” glow technique, strategically places glitter gloss only in the center of the lips after applying a matte base. This creates the illusion of fuller lips while minimizing gloss migration.
How to Layer Glitter Lip Gloss Like a Pro
Step 1: Prep Your Canvas
The secret to long-lasting glitter lip gloss starts before application. Proper preparation creates the perfect base for glitter to adhere to.
Tools needed:
- Lip scrub or soft toothbrush
- Hydrating lip balm
- Clean tissue or blotting paper
Process:
- Gently exfoliate lips to remove dead skin cells using a sugar scrub or soft toothbrush
- Apply a thin layer of hydrating lip balm and let it absorb for 3-5 minutes
- Blot away excess balm with a tissue, leaving lips smooth but not slippery
Pro tip: Avoid balms with heavy oils right before gloss application—they can break down the formula and cause slippage. Opt for water-based hydration instead.
Step 2: Create a Base That Grips
This crucial step is what separates amateur application from professional staying power.
Tools needed:
- Lip liner in a shade similar to your natural lips or gloss
- Translucent setting powder
- Small fluffy brush
- Optional: matte lipstick in complementary shade
Process:
- Line and fill in your entire lips with liner—this creates a slightly tacky base that helps glitter particles adhere
- If using lipstick, apply a thin layer over the liner
- Lightly dust translucent powder over lips with a fluffy brush
- Press lips together gently to set the base
Pro tip: For extra-long wear, choose a waterproof lip liner that will resist breaking down from the oils in your gloss.
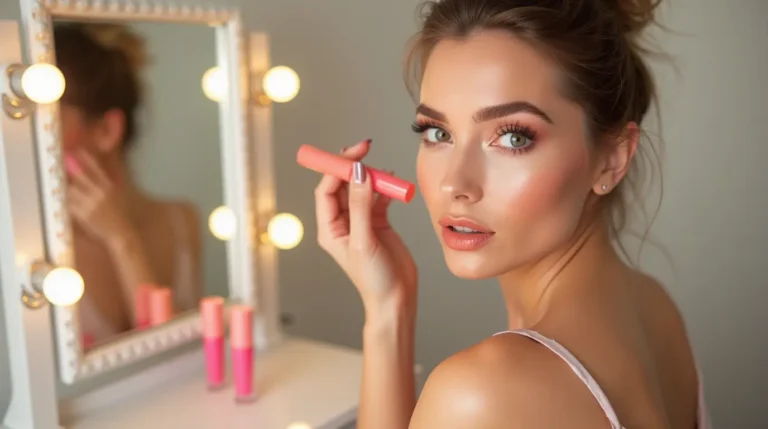
Step 3: Apply Your First Glitter Layer
The initial glitter application sets the foundation for your sparkly pout.
Tools needed:
- Your chosen glitter lip gloss (thicker formulas like Broadway lip gloss tend to last longer)
- Lip brush for precision
- Tissue
Process:
- Using the lip brush rather than the applicator, apply a thin layer of glitter gloss
- Focus on the center of the lips first, then work outward
- Press lips together gently—don’t rub them
- Blot very lightly with a single-ply tissue to remove excess while leaving glitter particles behind
Pro tip: If you’re using a particularly sparkly formula, tap (don’t swipe) it onto lips to maximize particle adhesion.
Step 4: Set and Reinforce
This step is the game-changer that most people skip.
Tools needed:
- Translucent setting spray (not powder)
- Small setting brush
- Optional: clear lip liner
Process:
- Trace around your lip line with clear lip liner to create a barrier against feathering
- Spritz setting spray onto the small brush (not directly onto lips)
- Gently pat the setting spray over your glittered lips
- Allow to dry completely (about 30 seconds)
Pro tip: Look for setting sprays with glycerin high in the ingredients list—this helps bind the glitter particles while maintaining shine.
Step 5: Add Final Impact Layer
This step adds impressive dimension and seals everything in place.
Tools needed:
- Original glitter lip gloss
- Optional: complementary glitter gloss in a slightly different shade
- Clean finger
Process:
- Apply a final thin layer of gloss, focusing primarily on the center of the bottom lip
- If using a second shade, dab it only at the very center for a multi-dimensional effect
- Tap gently with your fingertip to set the gloss without disturbing the layers underneath
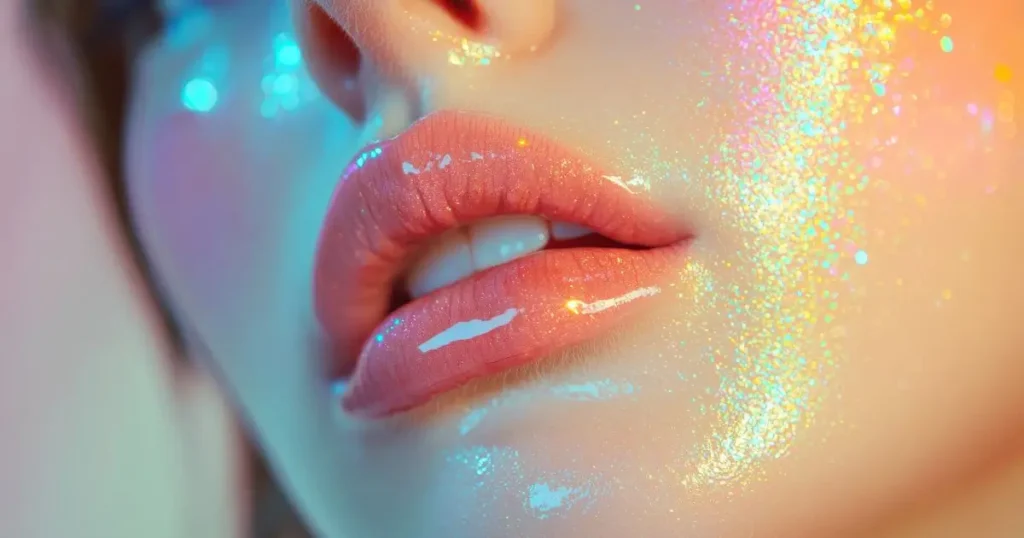
Pro tip: For photos, choose a glitter gloss with larger particle sizes in the center of the lips to catch more light.
Common Glitter Lip Gloss Mistakes to Avoid
Overloading Product
The mistake: Applying thick layers of glitter gloss, thinking more product equals longer wear.
Why it fails: Thick application creates weight that causes the product to slide around and migrate beyond your lip line.
The fix: Multiple thin layers always outperform one thick layer. Think of it like nail polish—thin coats dry better and last longer.
Skipping Proper Foundation
The mistake: Applying glitter gloss directly to bare or balmy lips.
Why it fails: Without a grippy base, glitter particles have nothing to adhere to and quickly disappear.
The fix: Always use a lip liner base or the lipstick-and-powder method described above.
Using Incompatible Products
The mistake: Layering products with conflicting formulas.
Why it fails: Oil-based products will break down water-based ones, while silicone-based products may repel certain glitter particles.
The fix: Check ingredients and stick to products within the same formula family, or test combinations before an important event.
Constant Reapplication Without Prep
The mistake: Adding more gloss over faded gloss throughout the day.
Why it fails: Creates a gunky buildup that looks messy and feels uncomfortable.
The fix: Gently blot away any remaining product before reapplication, or use a lip oil to refresh shine without adding more glitter.
Pro Tips & Makeup Artist Secrets
Strategic Placement for Maximum Impact
Professional makeup artists rarely apply glitter gloss uniformly across the entire lip. Instead, they concentrate it in strategic areas:
- Center of bottom lip: Creates the illusion of fullness and catches the most light
- Cupid’s bow: Highlights and defines this attractive feature
- Gradual fade toward corners: Prevents glitter migration into fine lines around the mouth
Try using a small detail brush to place glitter precisely rather than coating the entire lip uniformly.
The Mix-In Method
Many celebrity makeup artists create custom glitter glosses for their clients by mixing products:
- Add a pinch of cosmetic-grade loose glitter to your favorite lip oil for a custom glitter lip oil hybrid
- Mix a drop of pink lip gloss with your clear glitter formula for a custom tint
- Combine two different particle sizes for complex dimension
Pro tool tip: Keep a small palette and mixing spatula in your kit for custom blends.
Temperature Control Technique
This little-known trick can significantly extend wear time:
- Store your glitter gloss in the refrigerator for 15-20 minutes before application
- The cooled formula will set more quickly on the lips and adhere better
- Avoid hot drinks for the first 30 minutes after application
This technique is particularly effective with Broadway lip gloss formulas, which tend to be thicker and respond well to temperature setting.
The Unexpected Tools Professionals Use
Beyond standard applicators, makeup artists rely on specialized tools for glitter glosses:
- Silicone lip brushes that don’t absorb product
- LED mini-fans to speed up setting layers
- Lip shields/guards for precise application without mess
- Medical-grade micropore tape to clean up edges without disturbing the gloss
Glitter Lip Gloss Formula Comparison Table
| Formula Type | Longevity | Comfort | Best For | Not Ideal For |
|---|---|---|---|---|
| Traditional Sticky | 3-4 hours | Low-Medium | Photos, Short Events | Windy Days, Eating |
| Lip Oil Hybrid | 1-2 hours | High | Everyday Wear, Dry Lips | Long Events, Kissing |
| Broadway-Style | 4-5 hours | Medium | Performances, Nights Out | Casual Daytime |
| Serum-Based | 2-3 hours | Very High | Sensitive Lips, Layering | Maximum Impact Looks |
| Matte with Glitter | 5-6 hours | Medium-Low | All-Day Wear | Those Who Hate Dry Feel |
Conclusion: Your Glitter Lip Gloss, Elevated
The difference between glitter lip gloss that disappears and glitter that dazzles all night lies in these layering techniques. By properly prepping your lips, creating a stable base, applying thin strategic layers, and setting properly between steps, you can transform even budget-friendly formulas into long-wearing statement lips.
Remember that glitter lip gloss isn’t just makeup—it’s an expression of joy, playfulness, and confidence. Whether you’re drawn to subtle shimmer or bold sparkle, these professional techniques will ensure your shine stays put from application to after-party.
Have you tried any of these layering techniques? Do you have a favorite glitter lip gloss brand or formula? Share your experiences in the comments below—I’d love to hear which tips worked best for you!
Frequently Asked Questions
How do pink lip gloss formulas with glitter compare to clear ones for longevity?
Pink lip gloss formulas with glitter typically last longer than clear varieties because they contain more pigment, which helps anchor the glitter particles. The additional pigments create a more substantial base that adheres better to lips. For maximum longevity, look for pink formulas that describe themselves as “pigmented gloss” rather than “tinted gloss.”
Is lip oil or lip gloss better for holding glitter particles?
Traditional lip gloss formulas hold glitter particles more effectively than lip oils. The thicker, sometimes tackier texture of gloss creates better adhesion for glitter particles, while the sliding nature of lip oils often causes glitter to migrate. If you prefer the feeling of lip oil, look for hybrid formulas specifically designed with “suspended glitter technology” that bonds particles to the oils.
How does Broadway lip gloss achieve that intense sparkle that lasts through performances?
Broadway lip gloss formulations prioritize heavy-duty staying power and intense light reflection. The secret lies in their higher concentration of film-forming agents, which create a flexible seal over the lips. They also typically contain larger particle sizes with specialized adhesive coatings. To recreate this effect, layer a glitter lip primer underneath your regular gloss or look for theatrical makeup brands.
What’s the best application technique for Sexyy Red’s lip gloss line to maximize wear time?
Sexyy Red’s lip gloss line features highly pigmented formulas that work best with specific application techniques. For maximum longevity: 1) Line lips with a waterproof liner in a matching shade, 2) Apply the gloss using a silicone applicator rather than the included wand, 3) Build in thin layers, allowing 30 seconds of setting time between each, and 4) Focus the most pigmented application at the center, feathering outward for a gradient effect that’s more forgiving as it wears.
Can I make my regular lip gloss into glitter lip gloss that actually lasts?
Yes! Create long-lasting DIY glitter lip gloss by adding cosmetic-grade glitter to a long-wear lip base. Start with a matte liquid lipstick as your base, let it dry until just slightly tacky, then pat on loose cosmetic glitter with a silicone applicator. Seal with a clear gloss that contains dimethicone (a silicone-based ingredient that creates a water-resistant barrier). This method typically lasts 3-4 hours versus the 1-2 hours of simply adding glitter to regular gloss.
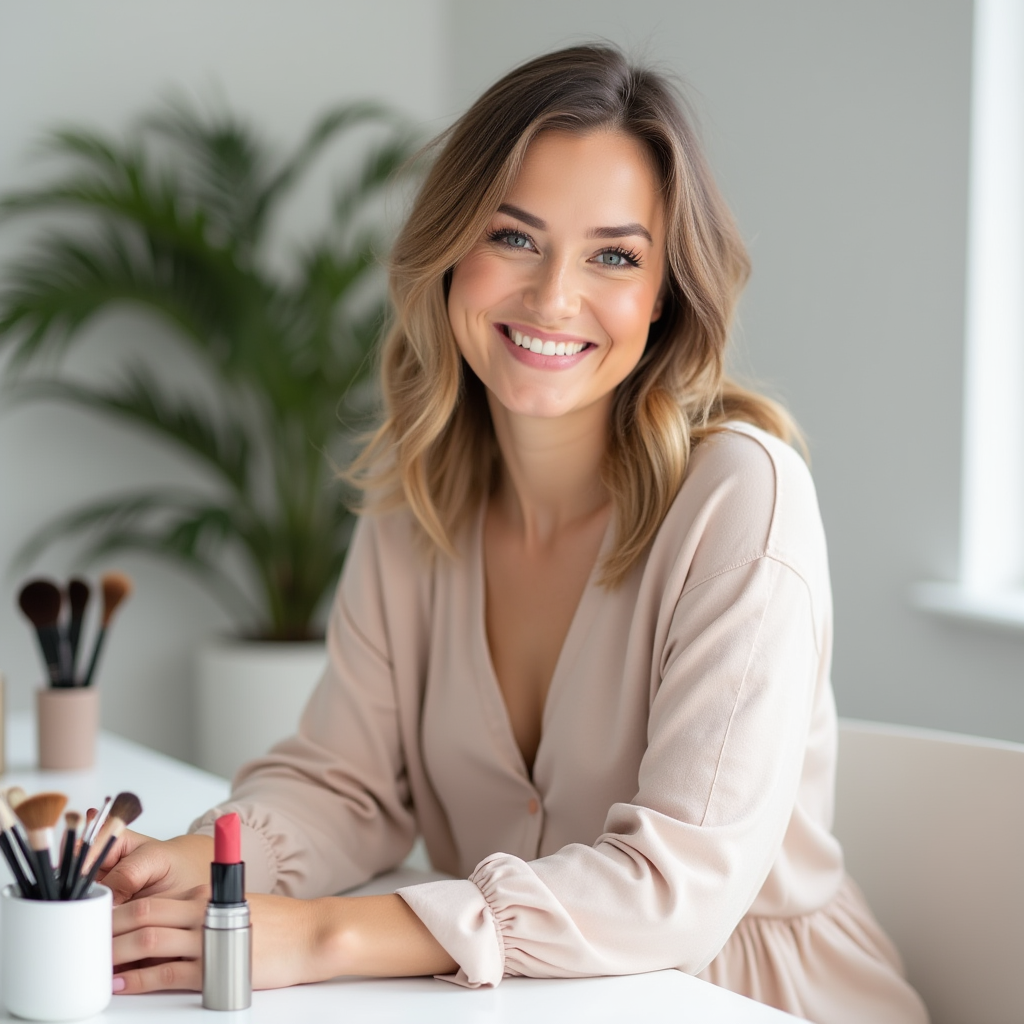
Hi, I’m Ella Blush! I share easy makeup tips, real reviews, and everyday glam looks to help you feel confident, beautiful.

2 Comments